


Expose for the Highlights


Expose for the highlights
Dramatic light makes dramatic images, if you know how to use your camera. This is pretty simple stuff, but often it is the simple stuff that gets overlooked. Many people let their camera make all the exposure decisions for them. Either they slap it on P for professional and forget about it or they set their camera’s meter to matrix or evaluative metering and trust it to deliver a perfect exposed image. Guess what? The camera is stupid. The camera’s meter is pretty impressive but it is limited. It’s important to understand the camera’s light meter is made to adjust your camera settings so that the bulk of the exposure equals 18% grey. What this means is simply the camera tries to turn white or black equally into grey. So, if the bulk of your image is black any highlights will become washed out as the camera attempts to turn black into grey. The converse is also true, any shadows with details will be lost and turn to black as the camera tries to turn white into grey.

By using your exposure compensation you can change the 18% grey to white or black.
As I said, this is pretty simple stuff. But as I tell my students all the time, you have to know your camera and understand how it works to be able to use it as an effective tool to capture your vision. So here is how to do it. First, take your camera off of P or program mode and put it on aperture priority or shutter priority. This allows you to take control the camera’s decision making abilities and puts control back into your hands. But to begin with you need a strong bright light source. You can’t get dramatic light without… well, dramatic light. Now, there are at least two ways to capture this dramatic light. The first is probably the simplest and that is to set your metering mode to spot metering. Then, place the spot portion of your meter on the highlight of your subject. Your camera will now take an exposure reading based on the highlight and leave your blacks and shadows to fall where they may, often in total darkness. Another way, and if truth be known, this is the way I use my camera more often than not, is to leave my meter in whatever mode I happen to be in and simply adjust my exposure compensation to minus (-) 1 to 2 stops. By underexposing a stop or two your camera will underexpose the highlight leaving details and leaving your blacks and shadows without much details at all.

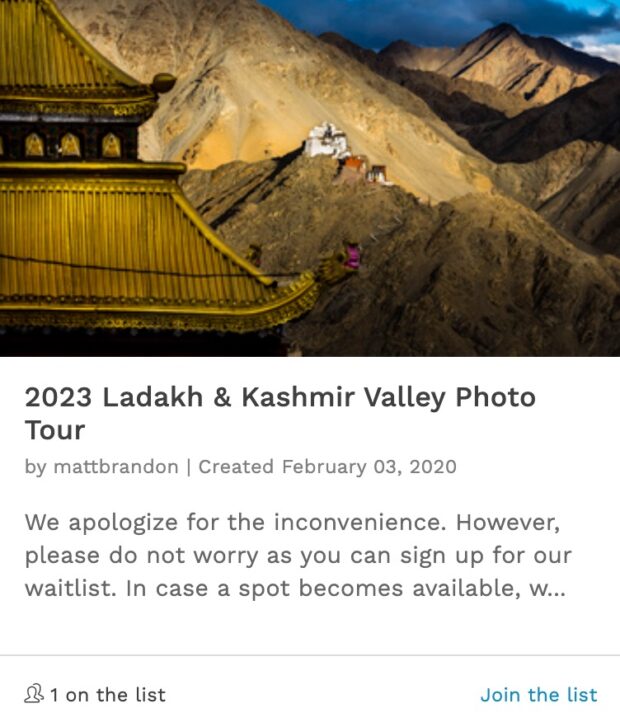
Dramatic lighting comes in all forms and places.
So you can see, it’s not rocket science. But it does take a concerted effort to expose for the highlights and getting off of program mode. By doing this you will often find you can isolate an important part of your subject and give a dramatic feel to an otherwise grey image.
Thank you for your explanation. Does this only work in aparture or shutter priority?
Or. It’s an exposure thing. It’s super easy in AP but can be don’t in SP and in Manual.